Installing Linux on Virtual Box
- We will begin with installation of Virtual first
But before we begin please download the following software’s:
- Double Click on the Virtual Box Installation Pack

- Proceed with default values till the installation is complete.
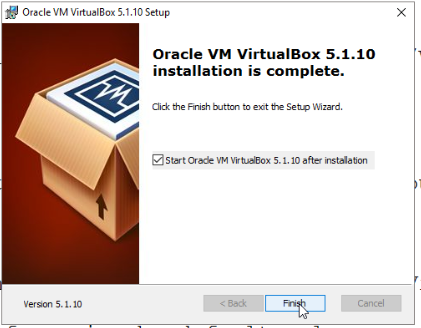
- Click on finish to run the Virtual Box

- Click on New to add a new Operating System(linux)

Give a suitable name in The Name box and Select the OS type in Type in Version Select either 64bit or 32 bit Linux (depending upon the configuration of your system). Then click on next.
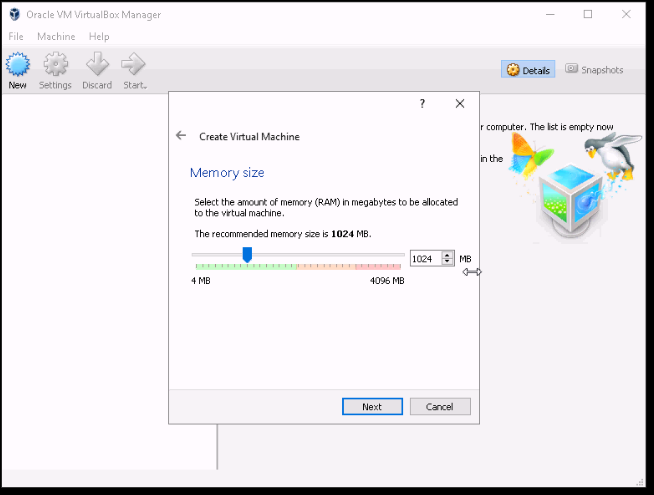
- Select the mount of RAM to be used for Linux (at lease 1.5GB)
- Press Next (Go with default values) till it asks for the File Location and Size. Though the default is 8GB, I prefer at least 16GB (so that we can use the space later to install other software’s).Once disk space is selected click on Create.

- Once done we can see a new OS listed in the left pane.
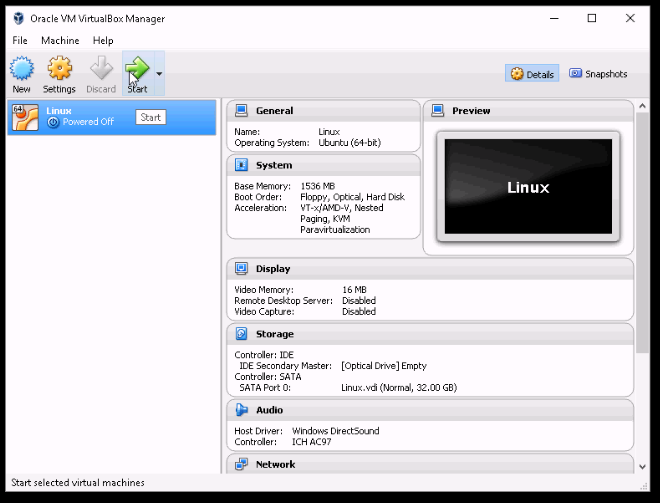
Click on Start to Begin the installation of Linux on the system (virtual Box).
- Select the ISO image that we downloaded from the Ubuntu Site.
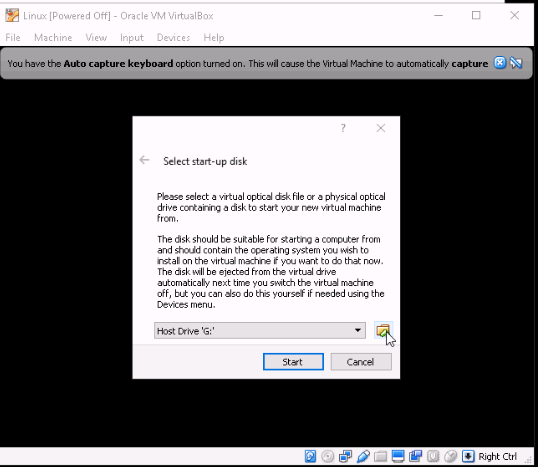


- Click on start to begin the Linux installation.
The installation of Linux would begin


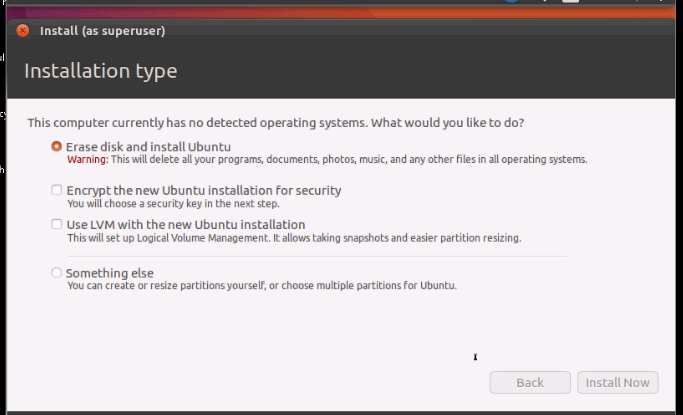
- Leave both the radio buttons unchecked so that the installation is faster.

We will update once the installation is complete.
12. Select you Region and language.


- Now go with default values until you are prompted for Credentials.

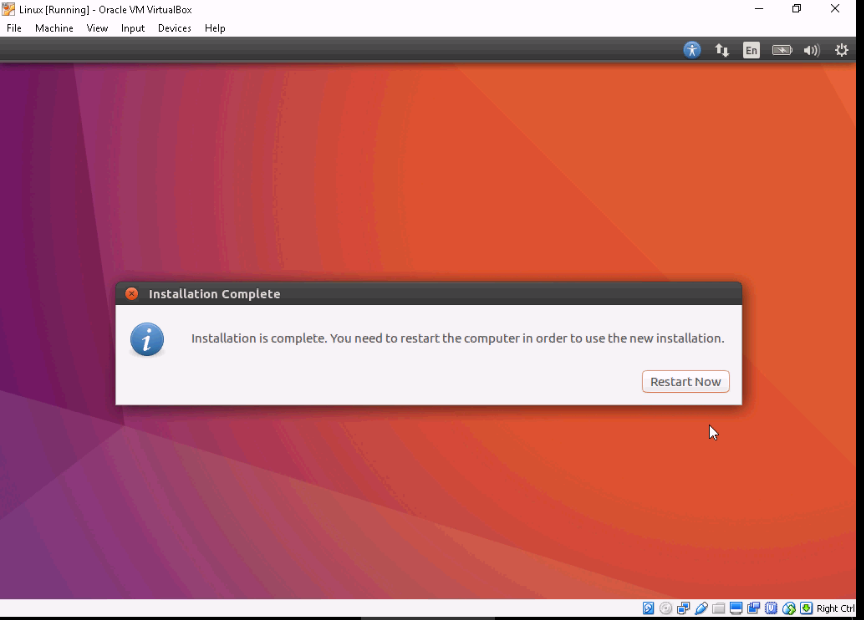
- The installation would proceed without any manual intervention required, until it finishes. Once the installation is complete it would prompt for reboot/restart. Click on restart to finish with installation.

Hit enter to un-mount the ISO image.

- Yup..ypu..yupyy our Installation is complete.
Good one..
ReplyDelete